This is some text inside of a div block.

Understanding the basics of marine stereo installation is the first step towards a successful and enjoyable audio experience on your boat. From the type of stereo system you choose to the way you install it, every detail counts in achieving the high-quality sound you desire. Here are some crucial steps to follow:
By following these steps, you can create a sound system that surpasses the performance of a factory-installed stereo.
Marine audio systems are available in a range of sizes and configurations, allowing you to tailor the setup to your boat and personal preferences. Whether you’re upgrading from a standard audio system or installing a brand new one, several factors must be considered to ensure a smooth installation process.
The foundation of a high-quality marine audio system lies in the selection of marine-grade components. Unlike standard automotive systems, marine stereo systems are specifically designed to withstand the harsh marine environment, offering shock protection and the ability to tolerate water splashes and moisture. You can also see our post on the best Marine Audio Brands.
Consideration of the number and placement of speakers is pivotal when adding them to your marine audio system. For instance, it is recommended that speakers be added in pairs, ensuring an equal number of right and left speakers. This will help create a balanced and immersive audio experience on your boat.
Gathering the necessary tools and preparing your boat is a critical step before starting the installation process. You’ll need the following tools:
If you’re replacing old speakers, remove them carefully by unscrewing the mounting screws, detaching the wires, and sliding the speakers out of place. Additionally, when working with fiberglass, opt for screws with nuts as an alternative to wood or sheet metal screws, as they provide a more secure connection.

After choosing the appropriate marine audio system and preparing your boat, you can move on to installing the marine stereo unit. Proper installation involves:
Before mounting the stereo, follow these steps:
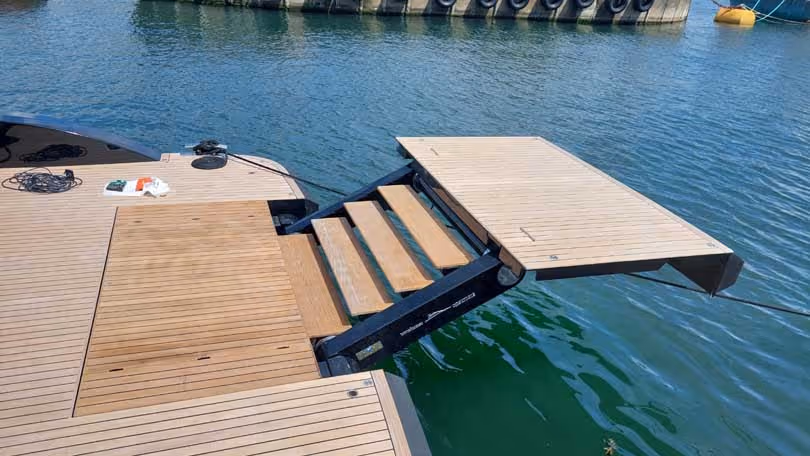
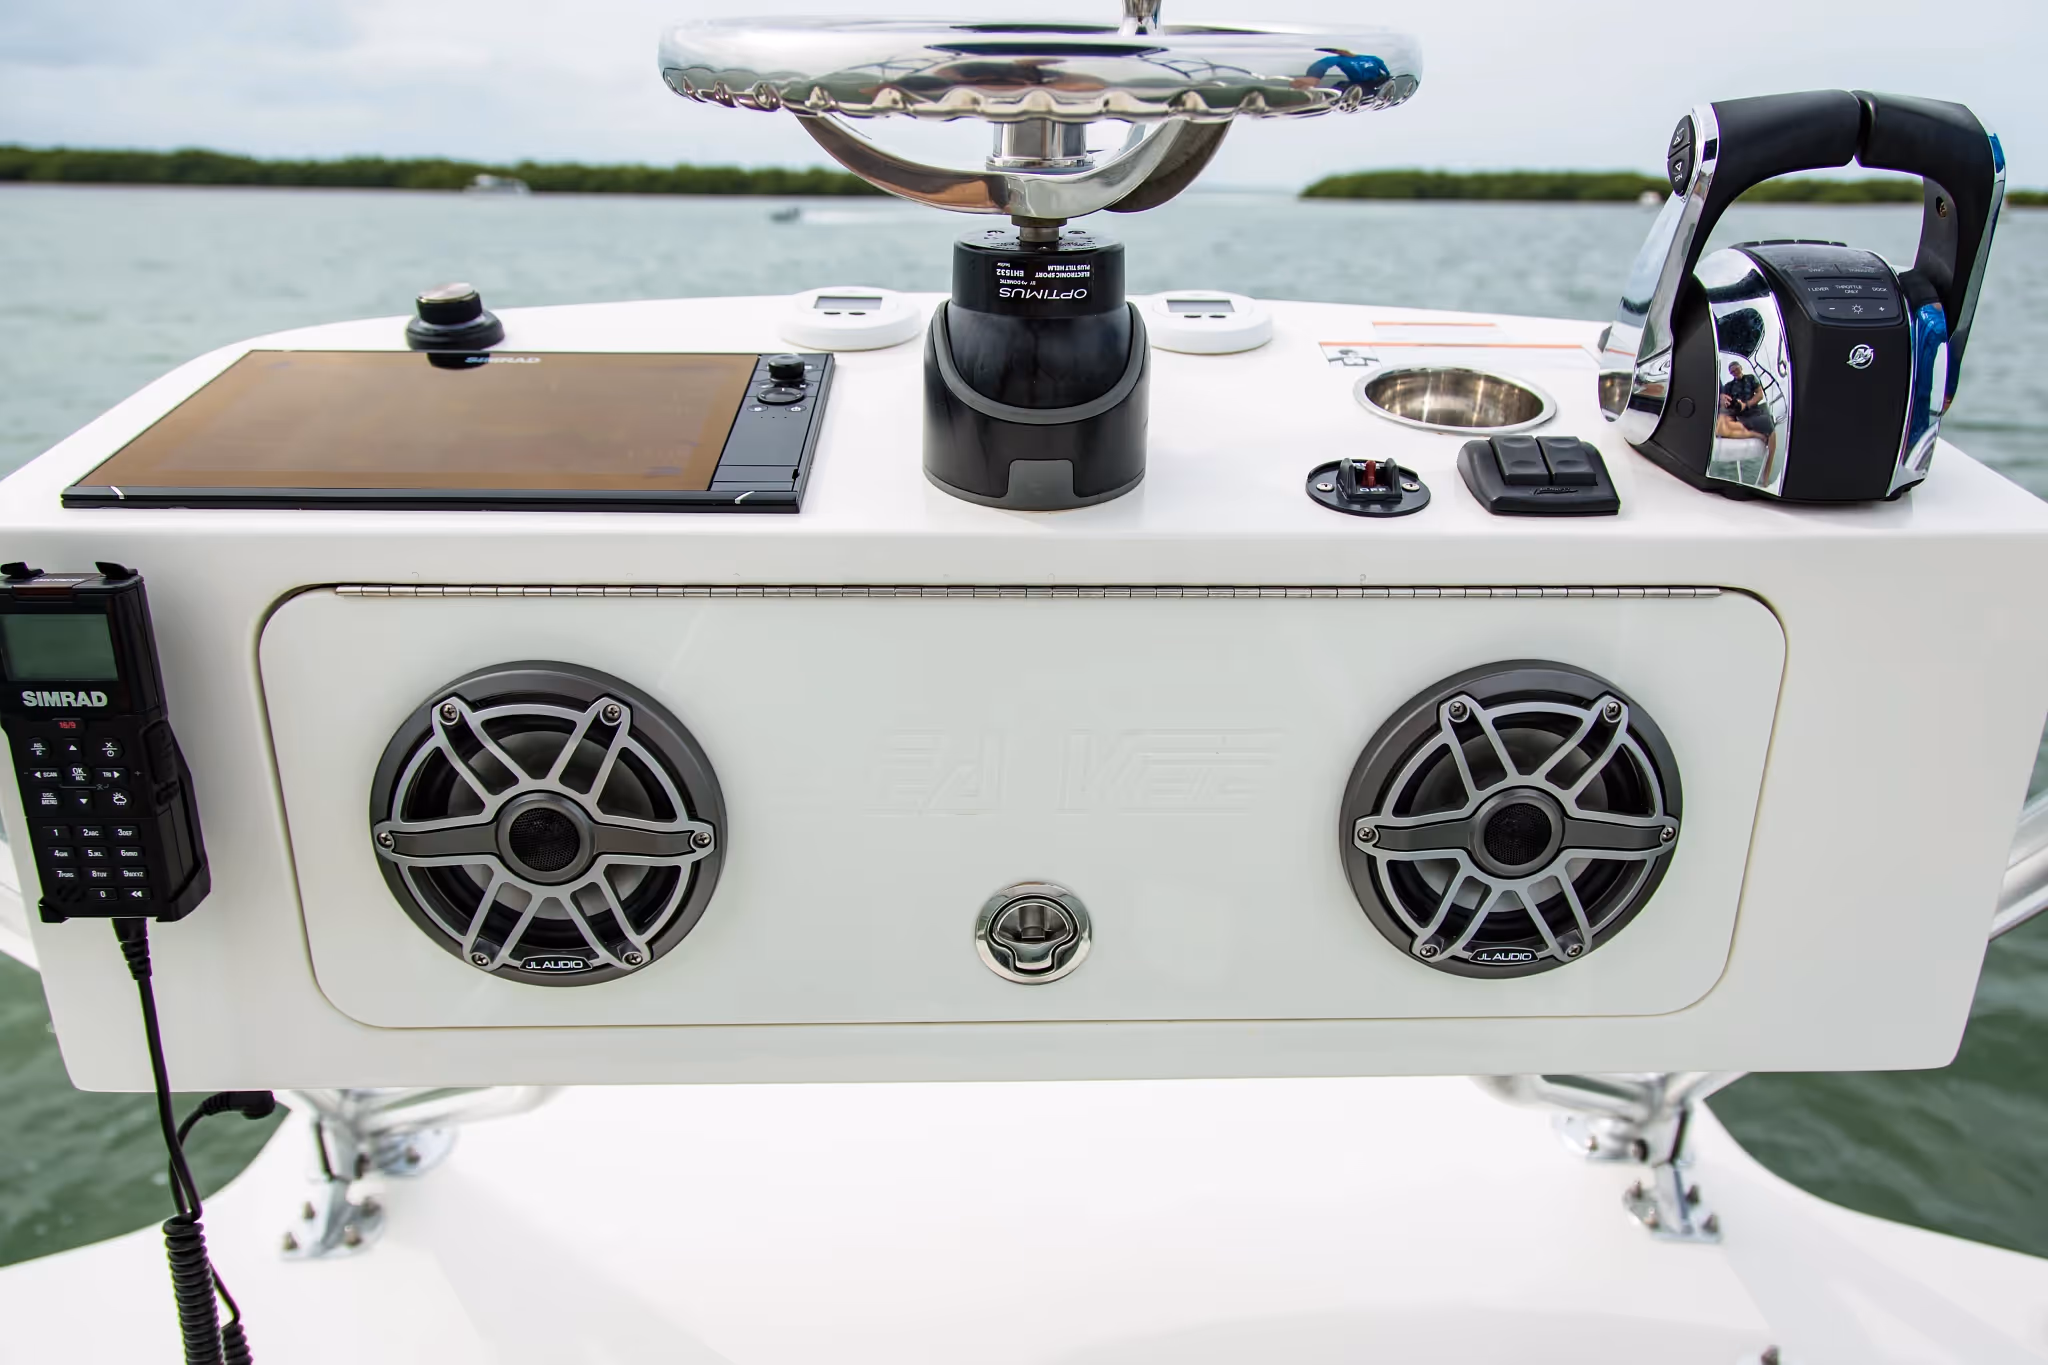
The performance and durability of your stereo unit are significantly influenced by its mounting location. Before cutting a hole for the stereo unit, ensure that the space is sufficient to house the stereo’s face and deep enough to fit the back of the unit. Measure the clearance twice and verify that there are no cables or wires behind the intended mounting spot. The recommended mounting angle for a marine stereo unit is up to 20 degrees, with an additional 10 degrees of allowance for any boat movement.
To protect the stereo unit from water splashes and spray, consider affixing hinged plastic splash guards to the faceplate of the stereo. When selecting a mounting location for the input port, prioritise accessibility.
After selecting a suitable mounting location, adhere to the manufacturer’s instructions and secure the stereo unit using screws, mounting sleeves or metal straps. Stainless steel hardware is recommended for optimal protection against rust and damage, especially when working with fiberglass.
Avoid using sheet metal and wood screws in fiberglass, as they can be easily stripped out.
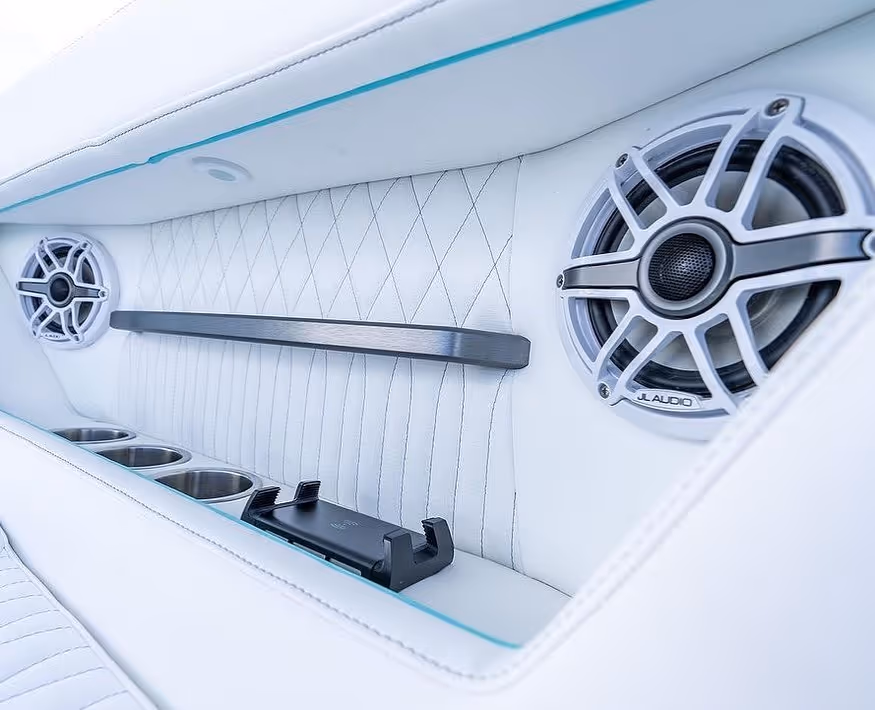
Achieving optimal sound quality and durability in your marine audio system is largely dependent on correct speaker placement and installation. There are two primary types of speakers: flush-mounted and box speakers. Flush-mounted speakers require cutting holes in the boat for installation, while box speakers can be installed without any modifications to the boat’s structure and offer an aesthetically pleasing factory-like appearance.
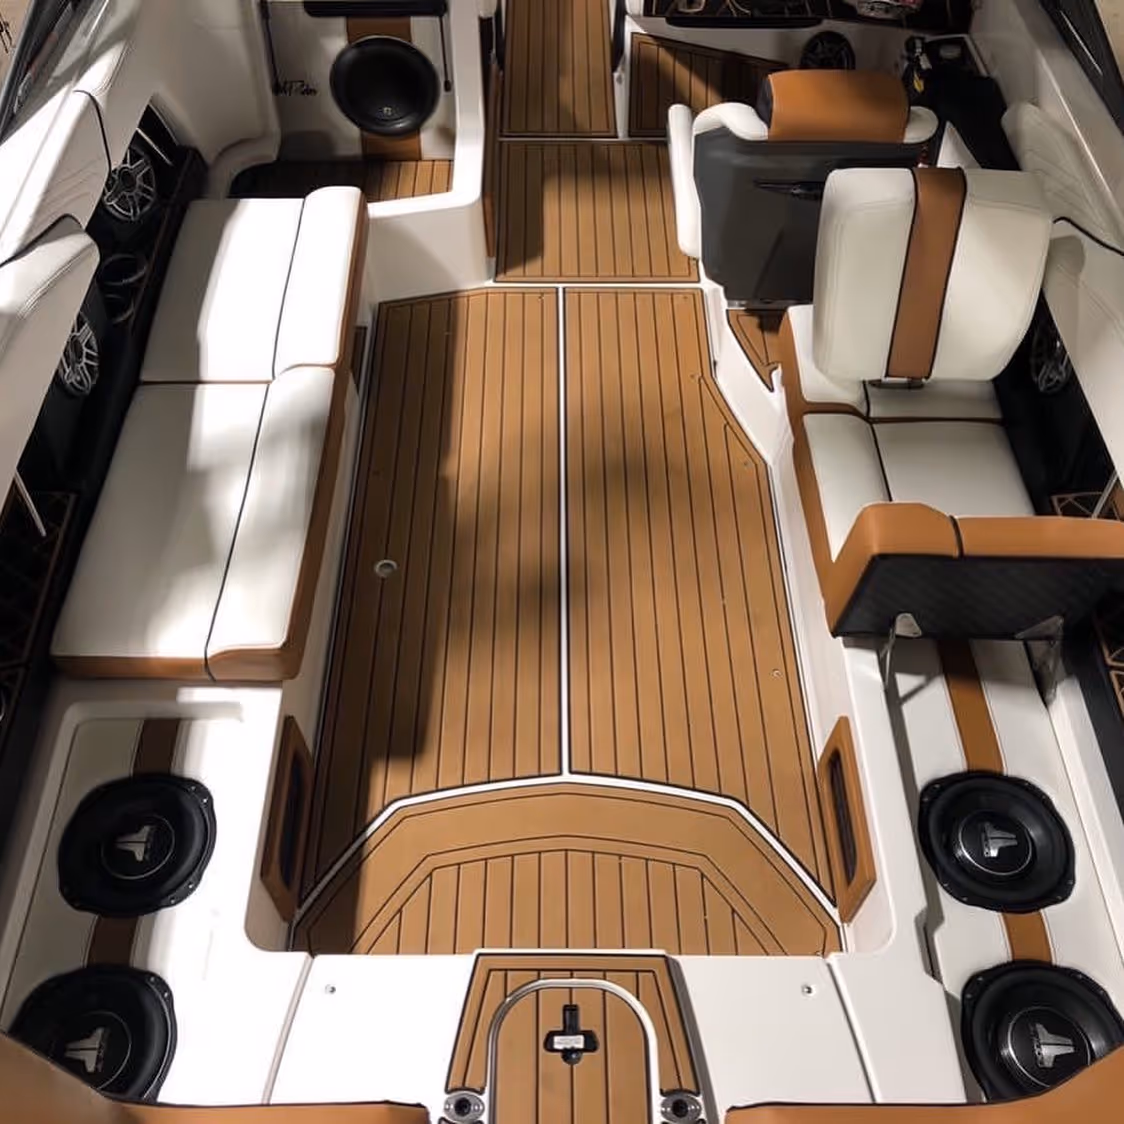
Considerations for determining speaker locations include sound projection, dry areas, and minimal interference with other boat components. The most effective speaker locations usually include the bowrider area, beneath the helm, and directed towards the listeners. Installing speakers in the back on each side and in the seat base opposite the driver can also provide excellent sound projection.
In addition, if a subwoofer is desired, consider placing it in a storage locker in the stern, bow, or amidships.
Installing marine speakers involves the following steps:
For a secure and organised installation, follow these steps:
By following these steps, you can ensure a professional and effective wiring installation for your speakers.
For more information on best speakers see out guide on Best Marine Audio Systems.
Proper power supply and speaker connections rely on the correct wiring of your marine stereo system. Using color-coded wires makes the process straightforward, as:
Ensuring secure and corrosion-resistant wiring connections is essential for the longevity and performance of your marine stereo system.
To connect power and ground wires, follow these steps:
After connecting the power and ground wires to the battery, test the connections by turning on the stereo and confirming that it functions correctly.
When wiring the speakers, follow these steps:
Utilise heat-shrink crimp connectors for a secure and waterproof connection between wires.

Accessories and upgrades can significantly enhance your marine audio experience. Some accessories to consider include:
These boat stereo accessories can improve sound quality, volume, and overall enjoyment of your boating experience.
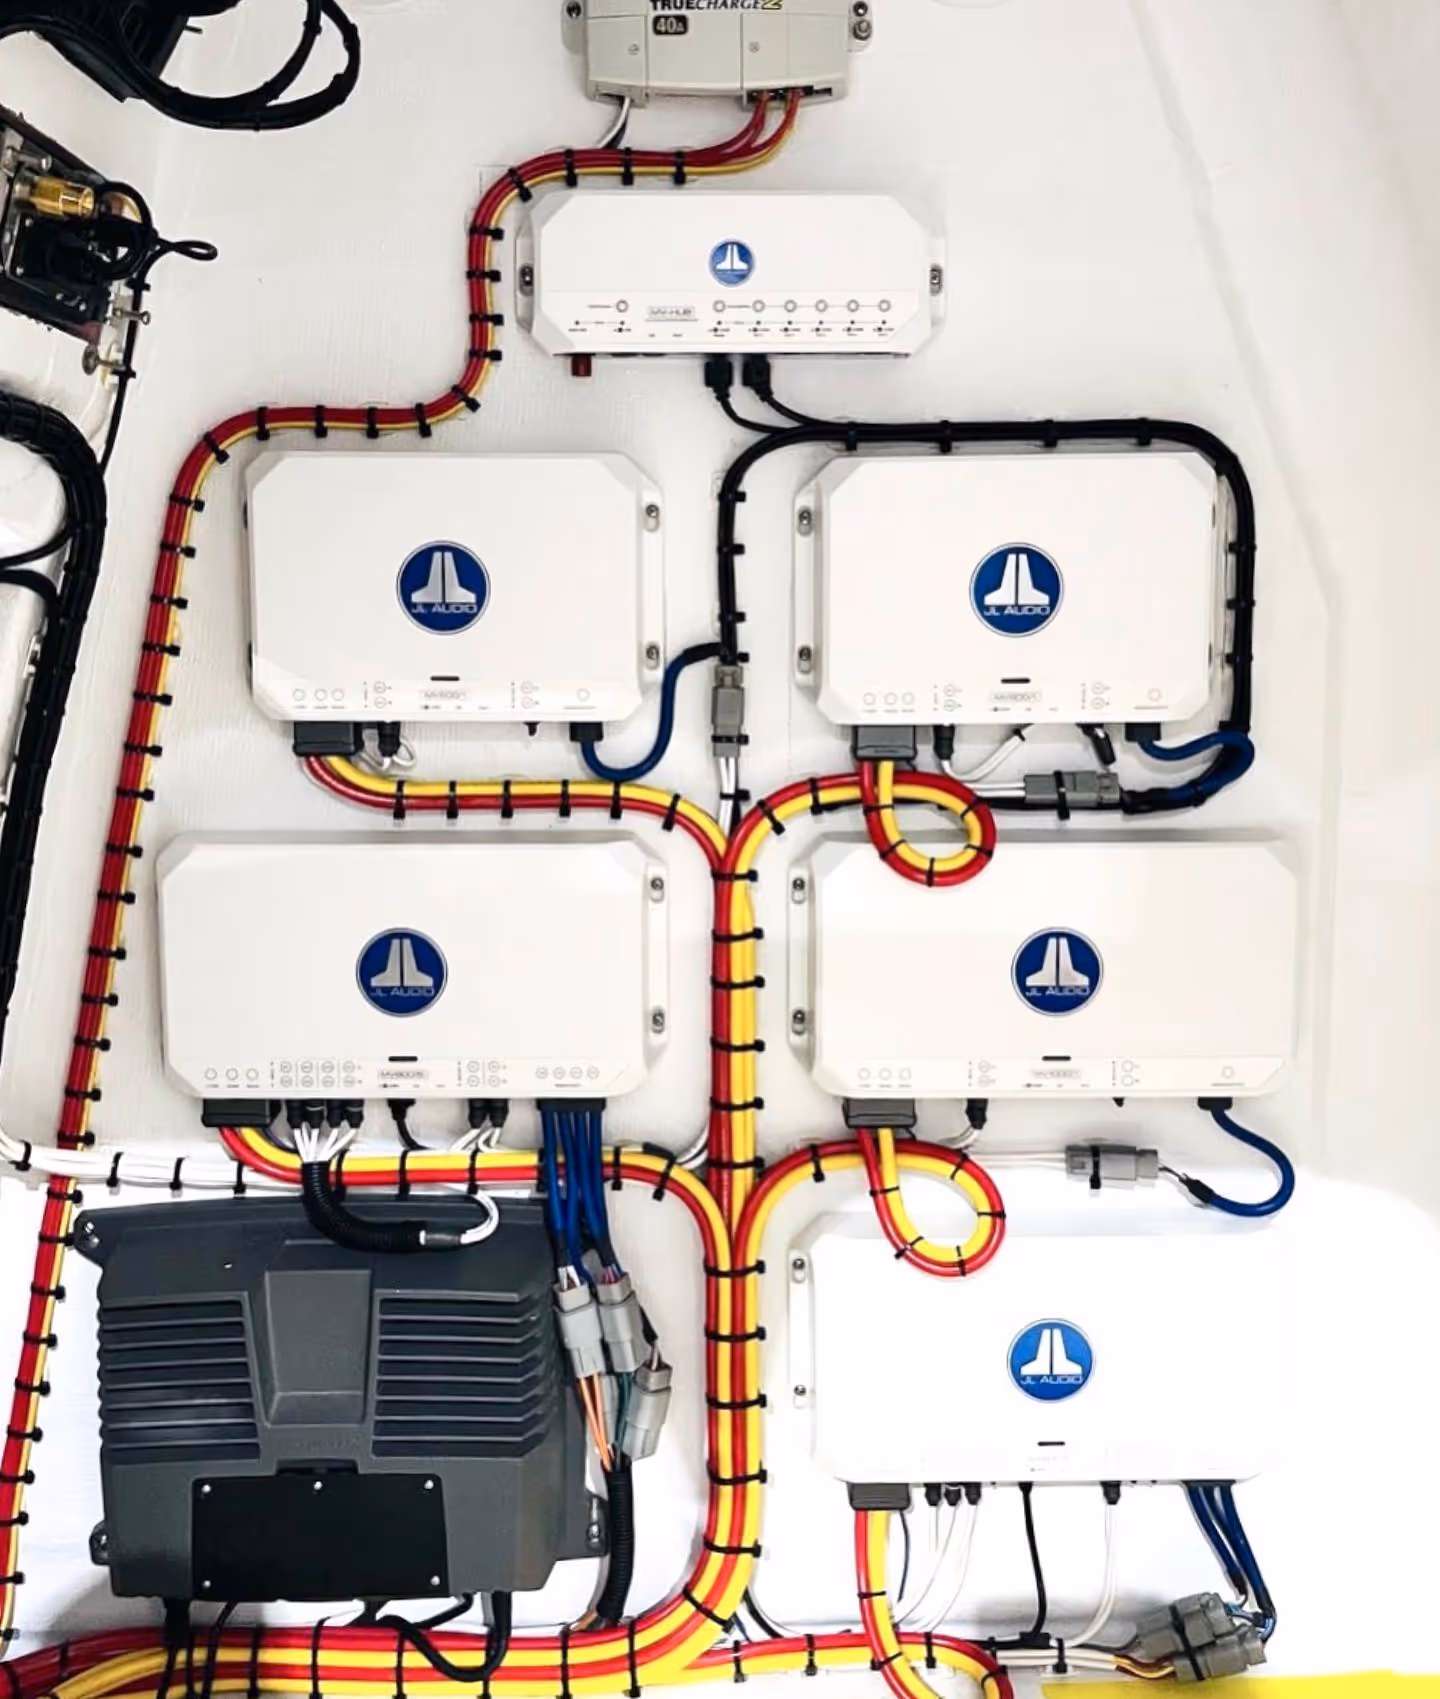
Marine amplifiers can significantly boost sound quality and volume on your boat, providing an enhanced audio experience. When selecting a marine amplifier, consider the following factors:
The correct installation of a marine amplifier is key, usually involving the use of RCA pre-amp output jacks located on the rear of the stereo and creating holes for running wires for amplifier installation.
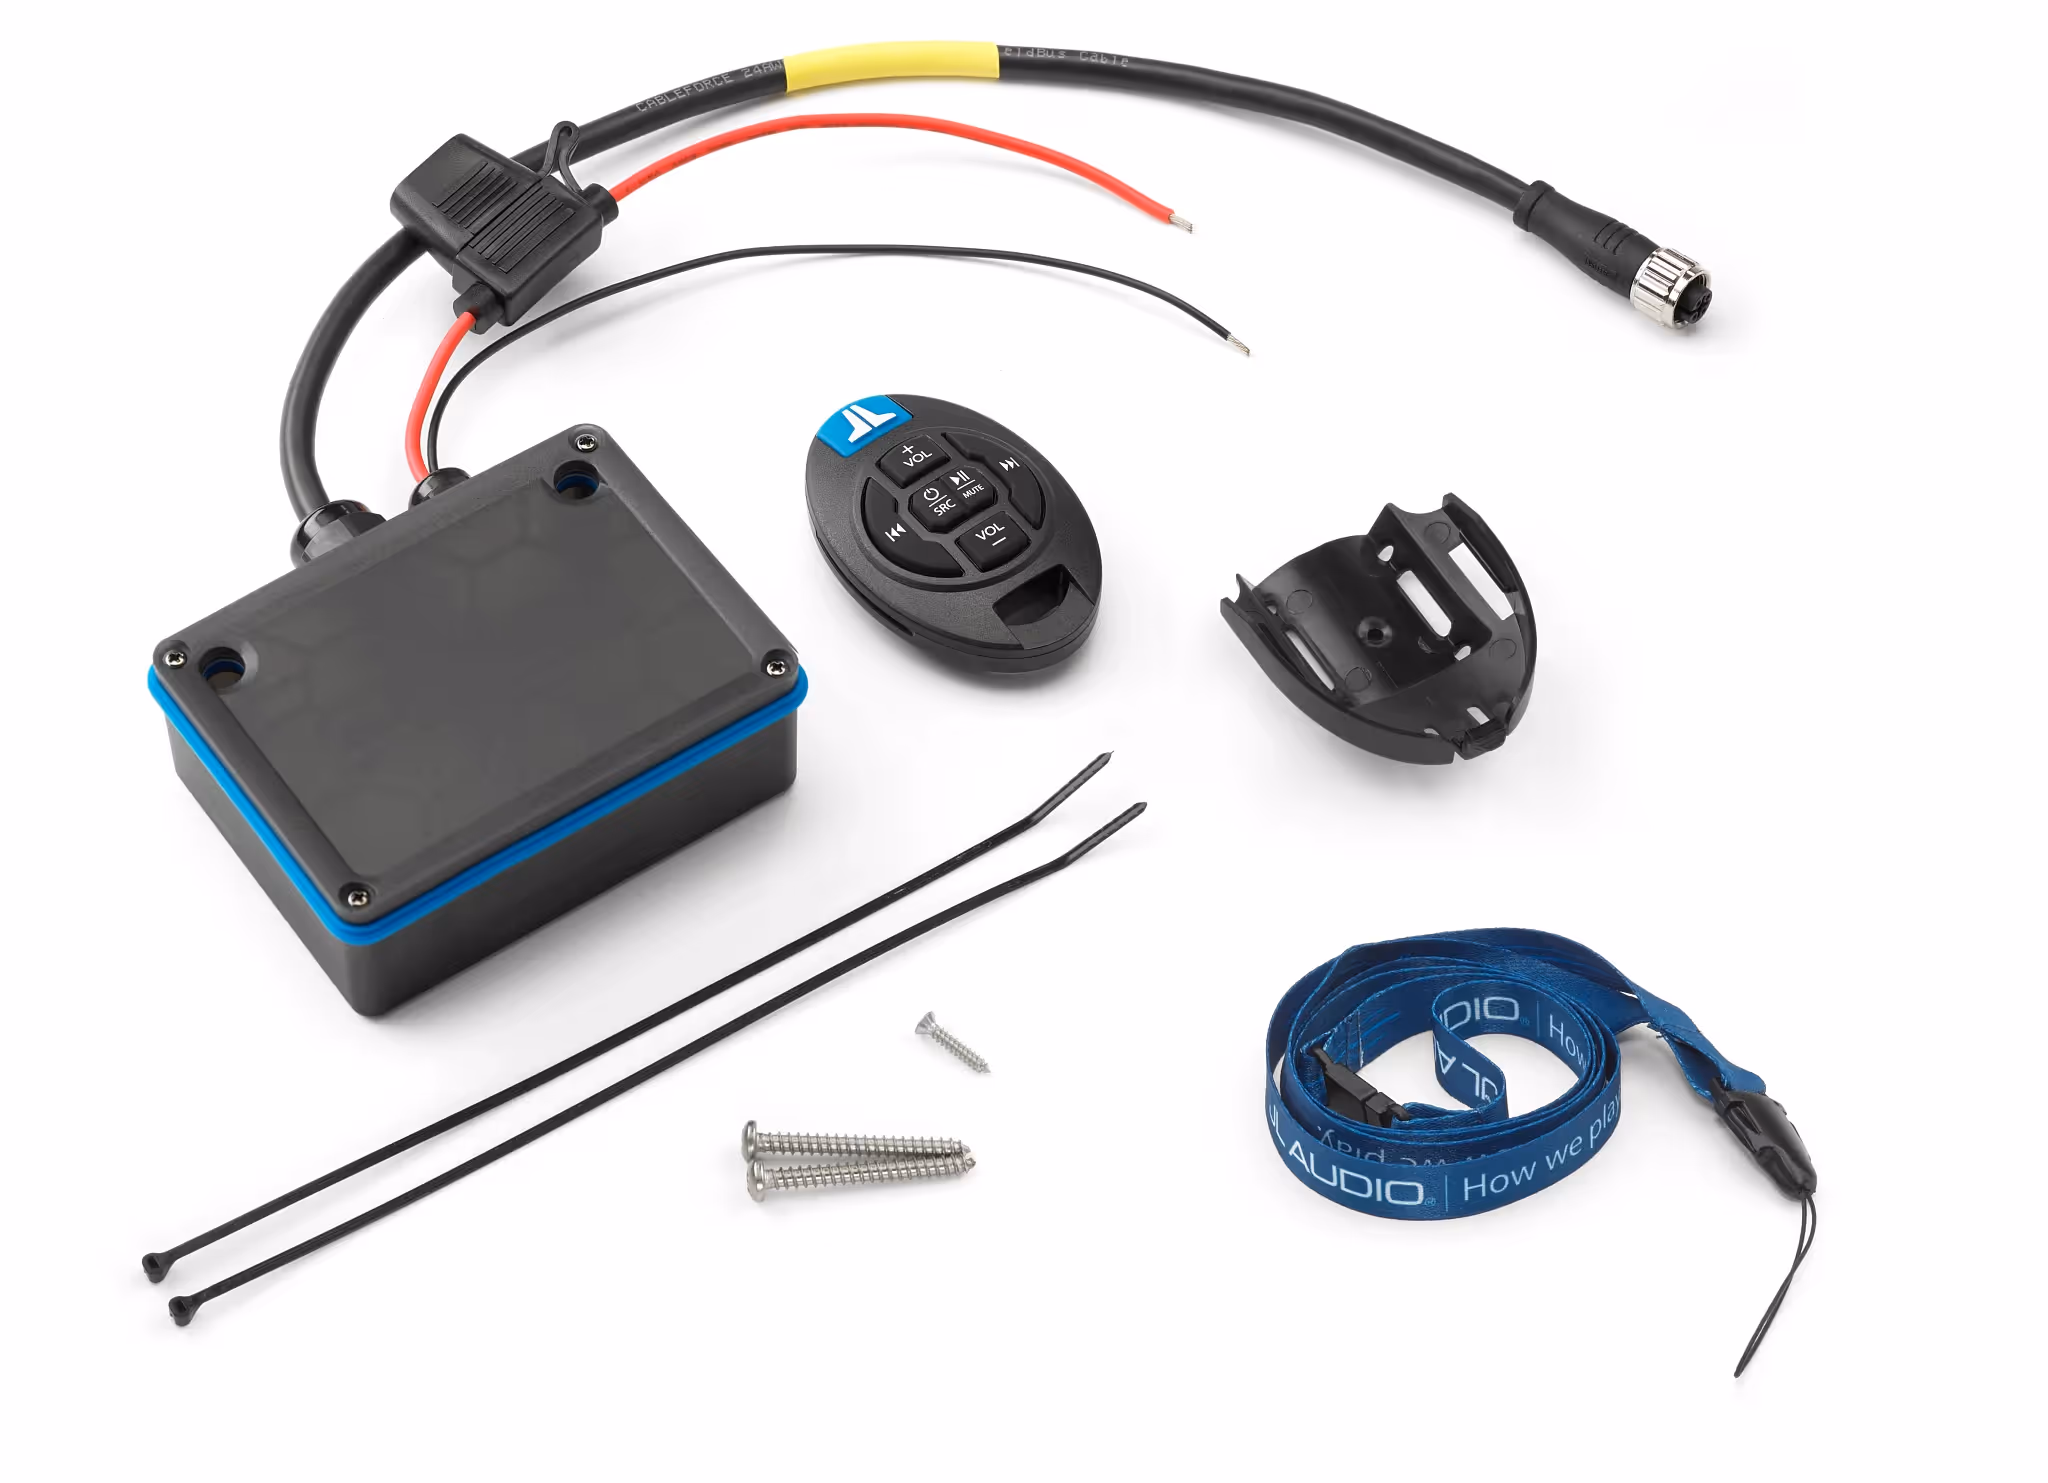
Remote controls can greatly improve the user experience of marine audio systems by offering convenience, safety, accessibility, and versatility. Installing a marine stereo remote control involves identifying the mounting location, connecting the remote control to the stereo receiver, securely attaching the remote control to the boat, and testing the remote control for proper functionality.
Additional features that can enhance your marine audio system include:
During the installation of a marine stereo system, you may encounter common issues like DC power, space limitations, wiring problems, water damage, and interference. Typical connection issues include DC power issues, improper cable connections, wiring errors, and lack of maintenance.
Addressing these issues is key to ensuring a seamless and enjoyable audio experience.
To address sound quality issues, follow these steps:
By following these steps, you can improve the sound quality of your marine audio system.
Fixing connection problems involves inspecting wiring, power supply, and device compatibility. Check for any loose or damaged wires, ensure the power cable is properly connected, test the power supply with a voltmeter, and verify that your devices are compatible with the marine stereo system.
Regular maintenance and inspection of your marine stereo system can aid in preventing issues and guaranteeing a seamless audio experience on the water with marine stereos.
In conclusion, installing a marine stereo system in your boat is an exciting project that can greatly enhance your boating experience. By following the tips and guidelines in this ultimate guide, you’ll be well on your way to enjoying your favourite music and creating unforgettable memories on the water. So, embrace the adventure and let the sound of your marine stereo system be the soundtrack to your next boating journey. See also our guide on: the ultimate guide to marine audio systems.
Yes, you can install a car stereo in your boat; however, make sure to purchase a waterproof or marine model as it will be more resistant to water damage. Additionally, you may want to look into getting a model with active control that can handle CD jumping when going over waves.
For the best results, install your speakers in the centre of the console and protect them with a remote-controlled speaker box or waterproof sleeve.
Marine speakers are designed to be more durable and water-resistant to withstand external elements, making them better equipped for the marine environment than regular car speakers.
For optimal sound quality, marine speakers should be placed under the gunwales in the aft cockpit and aimed away from each other to prevent sound cancellation. Additionally, they should be positioned out of the way of feet or knees of anglers in the aft cockpit or along the gunwales.
For optimal performance, a marine stereo unit should be mounted at an angle up to 20 degrees, allowing for an additional 10 degrees of movement due to the boat.
Searching for something in particular? Browse our best sellers!