How often should you change your jet ski’s oil, and what’s the cost-savvy way to do it yourself? Our no-nonsense guide demystifies the jet ski oil change process, offering you everything you need from selecting your oil to wrapping up cleanly.
Key Takeaways
-
Gather all necessary materials like recommended oil, new filter, suction pump, rags, oil container, and a filter wrench before starting an oil change to ensure a smooth process.
-
Warm up the jet ski engine before oil extraction to distribute the oil and suspend contaminants, then use an oil extractor via the dipstick tube for efficient removal.
-
After draining the old oil and replacing the oil filter, refill with the appropriate oil for your model, check the oil levels and inspect for leaks to conclude the oil change.
Preparing for Your Jet Ski Oil Change
Thorough preparation is a cornerstone of a successful oil change. Having all necessary materials and tools ready before the start smoothens the process and helps avoid potential mishaps. What specific items are required to perform an oil change on a jet ski?
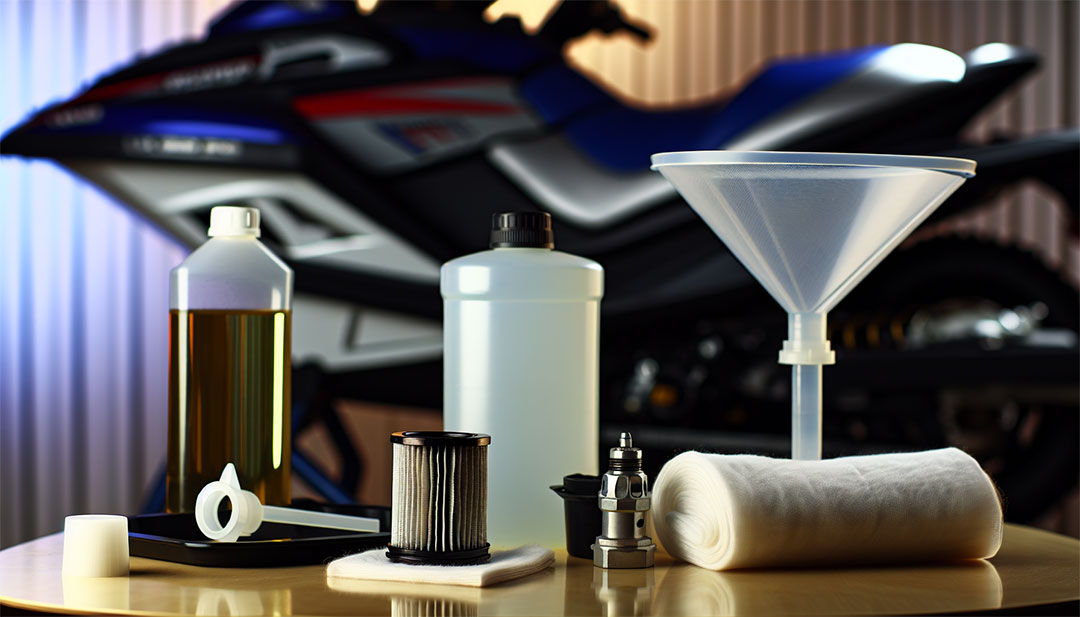
For an oil change, you will need the following tools and materials:
-
5 quarts of the recommended oil
-
A new filter
-
A suction pump
-
Rags
-
A container for the drained oil
-
An oil filter wrench
These tools and materials will facilitate an effective and efficient oil change, but you might be wondering how much oil is needed. You can expect to spend between $40 to $50 on these materials, an investment that is well worth the longevity it brings to your jet ski.
Must-Have Materials
Changing your jet ski’s oil requires certain materials. The task necessitates:
-
5 quarts of recommended oil
-
a new filter
-
a suction pump
-
rags
-
a jug or oil reservoir for drained oil
-
an oil filter wrench
Each of these items plays a pivotal role in ensuring that the oil change process goes smoothly.
This is particularly true for the oil extractor. A hand pump such as the Mityvac 7201 Fluid Evacuator Plus or the OEMTools Manual Fluid Extractor is recommended for extracting as much oil as possible from your jet ski during the oil change process. These tools make it easy to remove the old oil, paving the way for the fresh oil your jet ski needs to run smoothly.
Selecting the Right Oil
Selecting the right oil for your jet ski model is integral to its performance and longevity. However, the vast array of oils on the market may leave you wondering which one is suitable for your jet ski.
Four-stroke jet skis typically use 10W-40 4-stroke marine oils (API: SE, SF, SG, SH or SJ with JASO MA), while 2-stroke jet skis should use TC-W3 2-stroke marine oils. Different engines may require specific oil ratios and may specify the use of mineral-based or synthetic oil for optimal performance.
For instance, Yamaha WaveRunners recommend 4-stroke marine engine oils, particularly their own brand, YamaLube 4W oils. Sea-Doo suggests using their proprietary XPS oil for optimal performance and longevity of their jet skis. Using the incorrect type of oil can result in significant engine damage, potentially leading to engine failure and increased corrosion over time. Therefore, it is crucial to use the oil specified for your jet ski model.
Warming Up: The First Step to an Efficient Oil Change
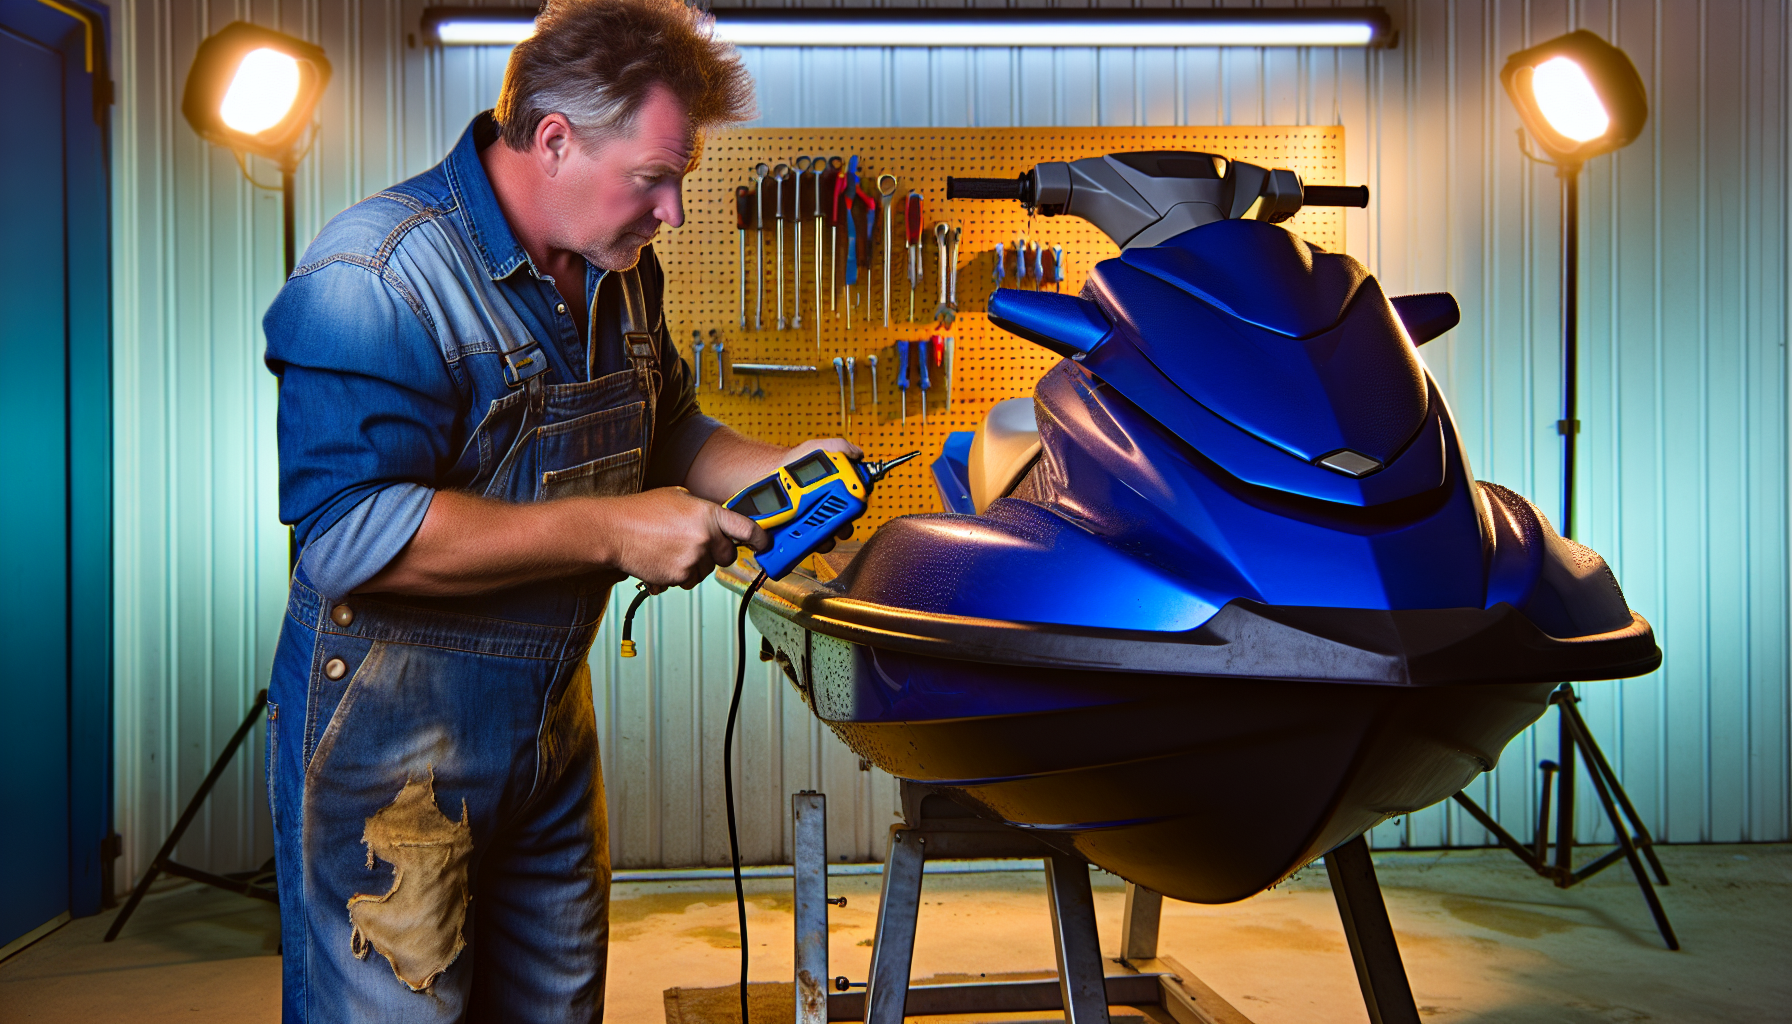
Prior to draining the old oil, warm up your jet ski’s engine. This step aids in the even distribution of oil throughout the engine, streamlining its removal. Warming up the engine also helps to suspend contaminants within the oil, making them easier to eliminate during the draining process.
To warm up your jet ski engine, follow these steps:
-
Run it on a hose for approximately 8 to 10 minutes. This process ensures that the oil is heated and thinned out, which facilitates better drainage.
-
Verify the oil level.
-
Rev the engine to 4,000-4,500 RPM for about 15 seconds before turning off the engine. This ensures that the oil has reached all parts of the engine and is ready to be drained.
Draining the Old Engine Oil
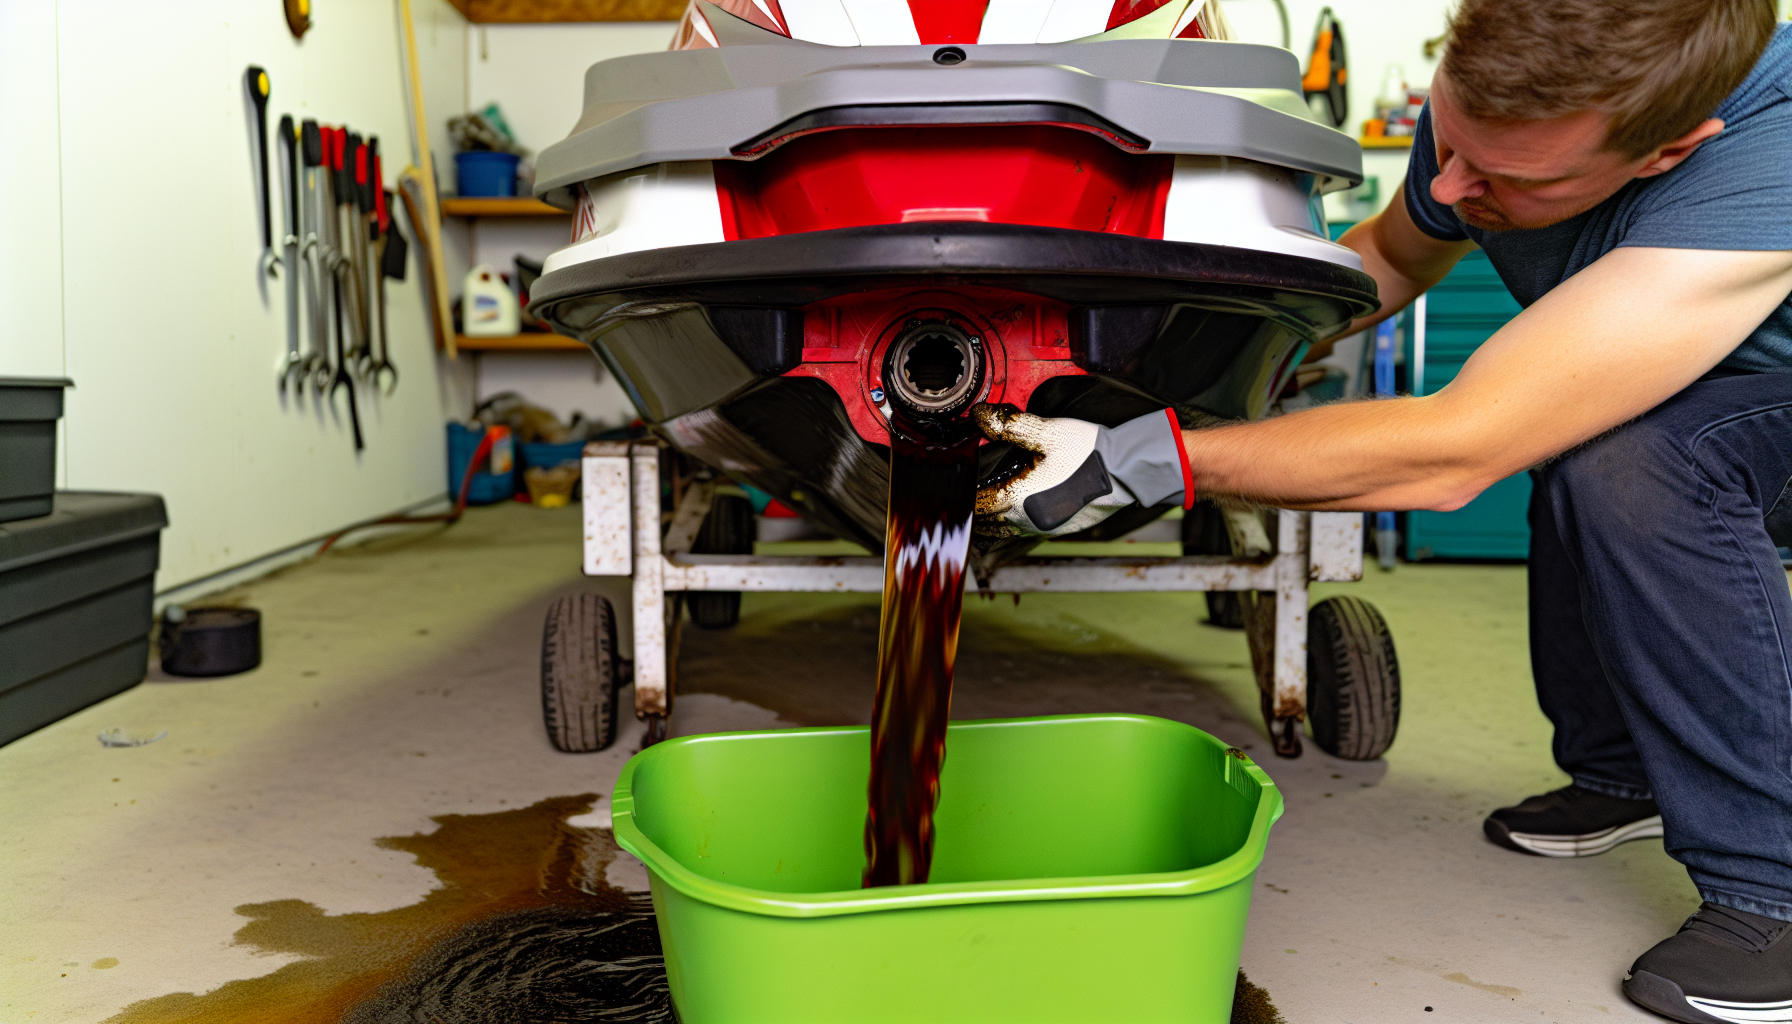
After adequately warming up the engine, proceed to drain the old oil. This significant step eliminates old, contaminated oil from your engine, thus enhancing your jet ski’s engine efficiency.
The most effective method for removing old engine oil from a jet ski is to use a fluid extractor or manual vacuum suction pump. These tools allow you to pump the oil out through the dipstick’s hole. Remember to have your oil reservoir or jug ready to collect the old oil as it is extracted from the engine.
Accessing the Oil Tank
Prior to extracting the old oil, locate the oil tank. It is typically situated at the back of the Seadoo, right beneath the grab handle in the rear section of the seat.
To access the oil tank, start by removing the ‘glove box’ small storage compartment. This will then allow you to access the oetiker clamp on the oil pump. You’ll need a suction pump, a funnel, an oil reservoir or jug, and possibly an E-10 Torx socket to successfully access the oil tank.
Once you have access, you can proceed to drain the rotary valve reservoir by pulling the oil line under the carb intake assembly and allowing gravity to pull the oil into a cup. After draining, you can clean the tanks by sloshing a little fresh gas in both tanks, ensuring that the gas is run through a filter before using it in other equipment.
Using the Oil Extractor
An oil extractor plays a vital role in efficiently removing the old oil from your jet ski. This tool creates a vacuum that sucks the oil out of the engine, providing a clean and efficient way to remove the old oil.
To use an oil extractor, follow these steps:
-
Connect the oil extractor to the dipstick tube.
-
Use a hand pump with a large reservoir to evacuate the oil from the ski.
-
Dispense the oil into a container.
This process differs from an oil drain, where gravity typically does the work. Using the oil extractor ensures that as much old oil as possible is removed from the engine.
Changing the Oil Filter: A Crucial Step
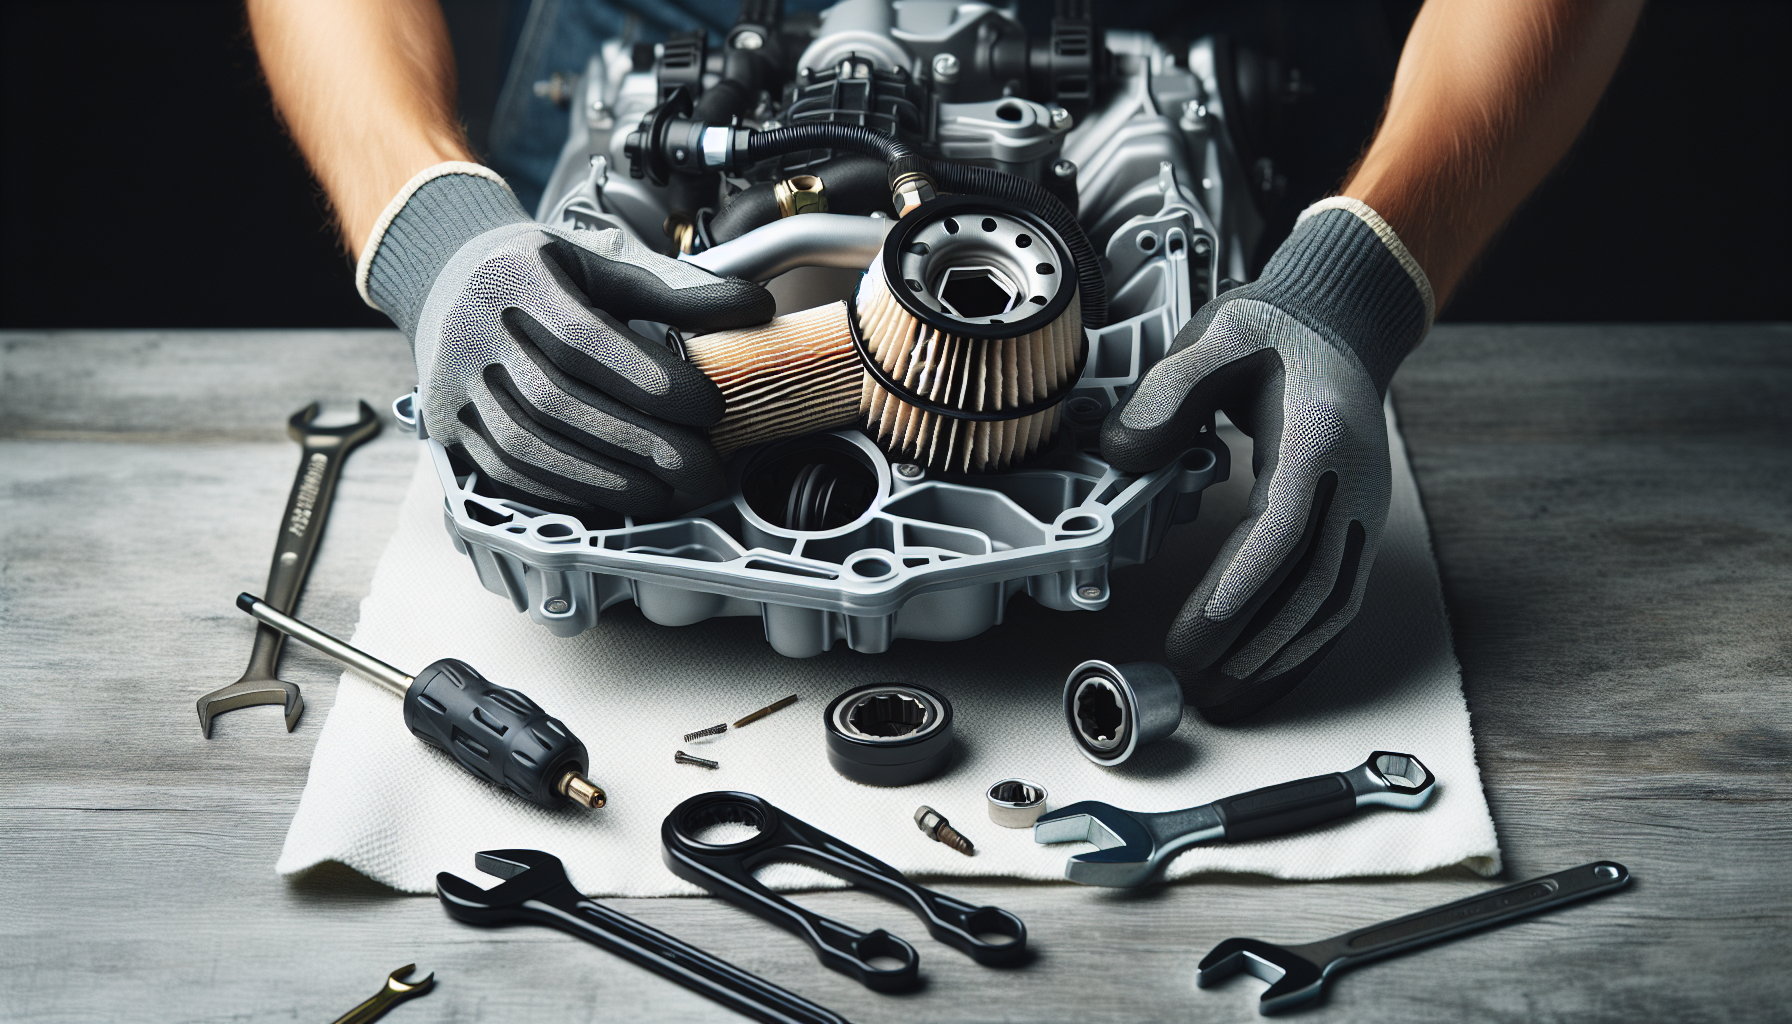
In addition to the need to change the oil, replacing the oil filter during an oil change is equally vital. Doing so removes residual acids, moisture, and combustion by-products, ensuring the engine stays healthy and preventing potential damage. The oil filter should be changed every 50 hours or annually, depending on your riding season length.
Before you start, make sure you have a new oil filter on hand. You’ll also need an oil filter wrench to remove the old filter. Once you’ve gathered your tools, it’s time to get started.
Removing the Old Filter
Removing the old oil filter is a straightforward process, but it does require some careful handling. To start, you’ll need an E-10 star socket or an 8mm(6pt) socket to unscrew the oil filter cap from the oil filter housing. Be mindful of the 3 ‘O’ rings in the filter cap area when removing the filter. After successfully removing the old oil filter, make sure to properly secure the oil fill cap to prevent any leaks.
To remove the filter without causing damage, you can use one of the following methods:
-
Use a special tool that fits the filter cap’s lip, or lightly pry on different sides of the cap.
-
Use a heavy screwdriver to gently nudge the filter away from the engine.
-
Use a wide band oil filter strap style wrench with medium grit sandpaper to enhance grip.
-
Some manufacturers may also require a specific oil filter wrench.
Before removal, inspect the filter for any indications of oil leakage or damage and dispose of the old filter in a proper manner after removal.
Installing the New Oil Filter
Once you’ve removed the old filter, it’s time to install the new one. Start by replacing the O-rings and lightly oiling the new oil filter ring and O-rings with fresh oil. This ensures a secure seal when the new filter is installed.
With the new oil filter and O-rings properly prepared, you can now install the new filter. Start by lubricating the seal, then tighten it until it just touches the mounting surface. After that, tighten it a further 1/3 to 1/2 turn.
Finally, start the engine and check for leaks. Congratulations, you’ve successfully installed a new oil filter!
Refilling with Fresh Oil
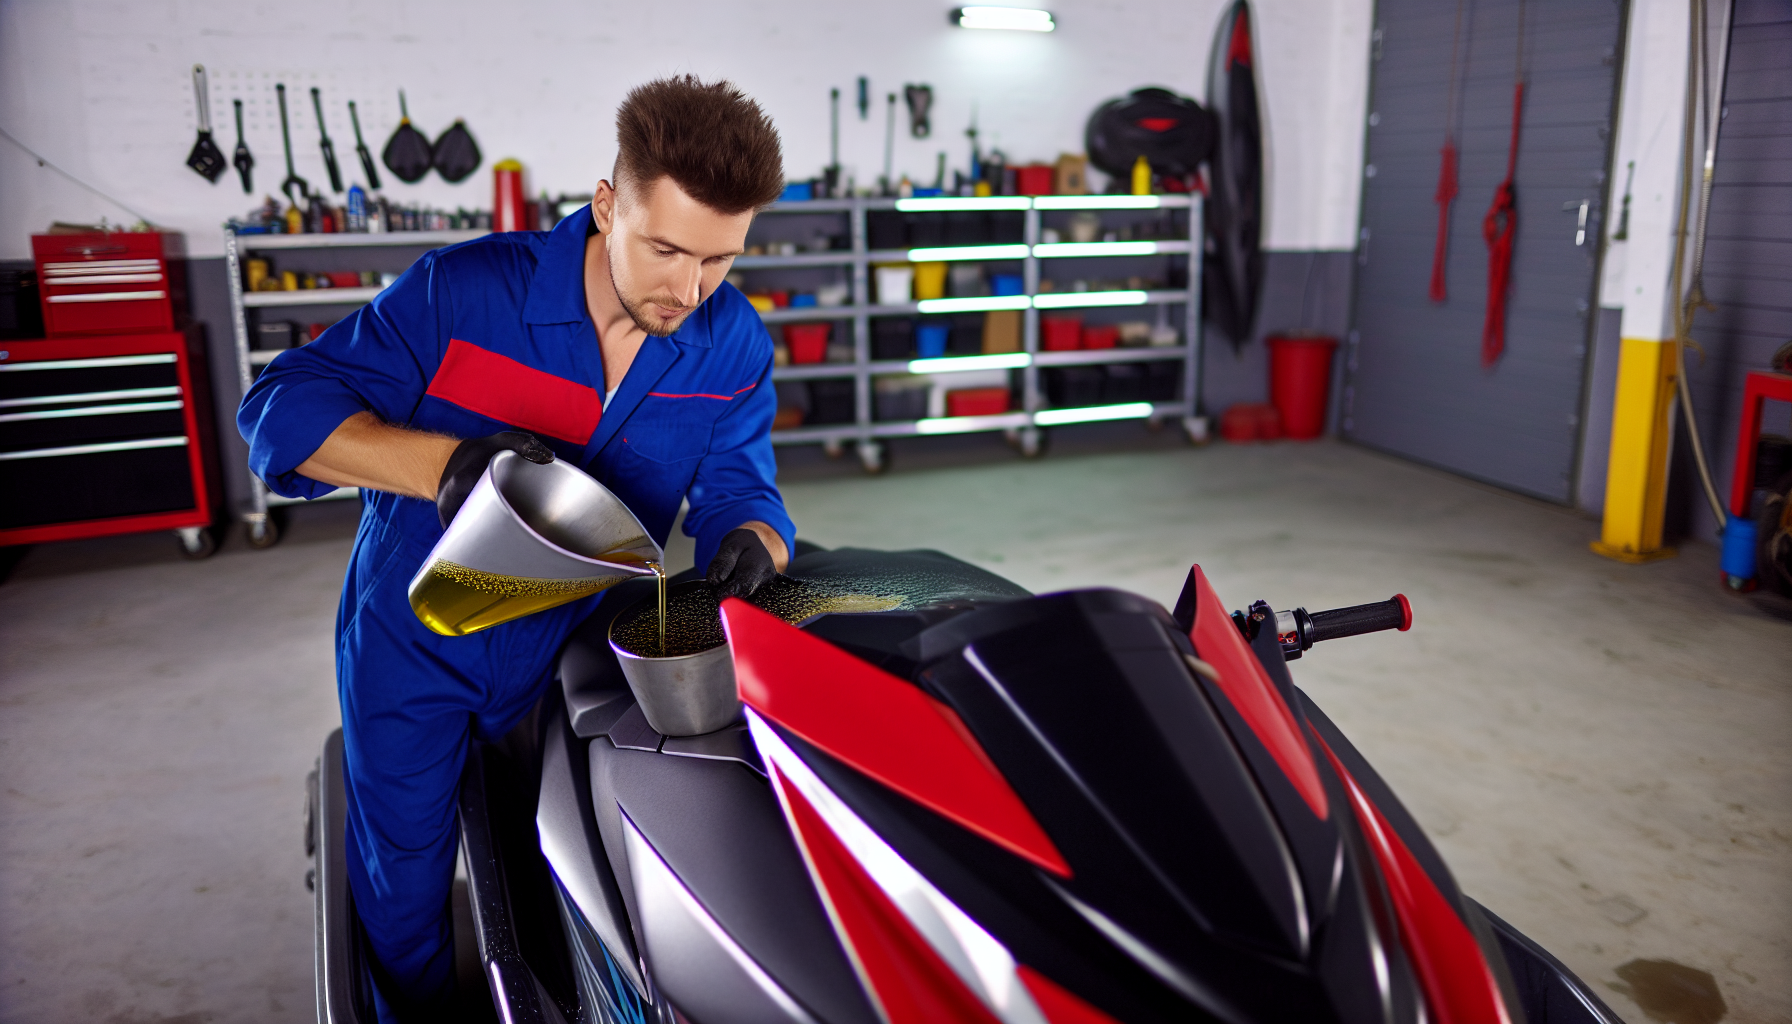
Having drained the old oil and installed the new oil filter, you are set to refill your jet ski with fresh oil. The type of oil you use will depend on your specific model. For example:
-
2-stroke engines typically use Motul Powerjet 2T synthetic watercraft jet ski engine oil
-
Sea-Doo 951cc 130 hp engines and 800cc RFI engines prefer a specially blended fully synthetic oil
-
For 4-stroke Jet Skis, Kawasaki Performance 4-Stroke 10W-40 Jet Ski oil is recommended.
During a refill, a standard jet ski engine typically requires 4-5 quarts of oil, although this amount can vary based on the model. To add the new oil, you’ll need to extract the old oil from the dipstick tube using a suction pump, replace the filter, and then pour the required amount of fresh oil into the engine. It’s important to pour the oil slowly and cautiously into the fill tube to prevent any accidental spills.
Pouring in the New Oil
Pouring new oil into your jet ski requires a bit of precision. Here are some tips to help you do it accurately and cleanly:
-
Use a funnel to ensure that the oil is transferred into the oil filter hole or oil fill well accurately and cleanly.
-
Pour the oil in very slowly to prevent overflow and spills.
-
Make sure to pour the oil with the spout up to prevent spills.
If oil is poured improperly into a jet ski engine, it can lead to excess oil blowing past seals, gaskets, and rings, causing leaks and damage. It can also result in an oil slick or sheen on the water behind the jet ski. Therefore, it’s essential to pour the new oil into your engine with care.
Checking Oil Levels
Once you’ve added the new oil, it’s important to verify the oil levels. This final check ensures that you’ve added the right amount of oil and that your jet ski engine has the correct level of oil for optimal operation. Here’s how to check the oil level:
-
Warm up the engine, either in the water or on land.
-
Use the dipstick to check the oil level. The dipstick should have a full mark and a low mark.
-
Maintain the oil level halfway between the full and low marks on the dipstick when the engine is hot.
To read a jet ski oil dipstick, follow these steps:
-
Reinstall the dipstick completely.
-
Remove the dipstick to read the oil level.
-
If the jet ski has a sight glass, simply pull out the dipstick and lay it flat to read the oil level.
-
After an oil change, let the jet ski run for thirty seconds before checking the oil level to ensure an accurate reading.
Final Steps and Cleanup
After successfully draining the old oil, installing a new oil filter, and refilling with fresh oil, you’re nearing the end of the process. There are just a few final steps to complete after the oil change.
Start by checking for oil leaks. Run the engine with your jet ski hooked up as if you’re flushing it, and watch for water coming out. Additionally, clean the entire engine compartment with a degreaser to ensure it is clean and makes detecting any oil leaks easier. Once you’re confident that there are no leaks, you can turn your attention to disposing of the old oil and filters.
Inspecting for Oil Leaks
Inspecting for oil leaks is a crucial post-oil change task. Look out for signs such as a hull filled with oil, oil seepage around the supercharger shaft, and oil leakage from the injection lines.
To inspect your jet ski for oil leaks after the oil change, follow these steps:
-
Run the engine with it hooked up as if you are flushing it.
-
Observe for any signs of water coming out.
-
Thoroughly clean the entire engine compartment with a degreaser to ensure it is clean and facilitate the detection of any oil leaks.
-
If leaks are found, it may be necessary to replace or tighten the affected parts.
If the issue persists, it is advisable to seek professional assistance or contact the manufacturer for further guidance.
Disposing of Old Oil and Filters
After an oil change, you’ll be left with used oil and an old filter. These items must be disposed of responsibly due to their potential environmental impact.
Used oil and filters should be disposed of properly. Here are some steps to follow:
-
Store the used oil in an appropriate container until disposal.
-
Take the oil to your local household recycling site for proper disposal.
-
Puncture the old filter and drain the used oil into a container.
-
Recycle the filter as scrap metal. Always make sure you’re following local regulations and guidelines when disposing of used oil and filters.
Maintaining Your Jet Ski Post-Oil Change
Following the successful oil change in your jet ski, there are additional steps to help maintain your jet ski in peak condition. Regular oil changes are an integral part of this maintenance routine. While the frequency of oil changes will depend on the manufacturer’s recommendations, a good rule of thumb is to check the oil levels every two weeks, especially if the jet ski is used frequently.
In addition to regular oil checks, it’s also important to:
-
Clean your jet ski thoroughly
-
Drain any remaining water
-
Flush the systems with antifreeze
-
Lubricate the moving parts
-
Perform regular comprehensive inspections
Regular maintenance, including timely oil changes, can greatly improve fuel efficiency, preserve engine health, and prevent overheating, leading to enhanced overall performance of your jet ski.
Summary
In conclusion, regular oil changes are a crucial aspect of jet ski maintenance that can greatly improve the performance and longevity of your personal watercraft. By following the steps outlined in this guide, you can easily perform your own oil changes, saving money and gaining satisfaction from maintaining your jet ski. Remember, diligent preparation, using the right tools, and following the correct procedures can make the task of changing your jet ski’s oil a breeze.
Frequently Asked Questions
How often should you change the oil in a jet ski?
You should change the oil in your jet ski every 50 hours or annually, depending on your riding season. This is typically sufficient for the average person who puts 30 to 50 hours a year on their PWC.
What oil do you put in a jetski?
You should use YAMALUBE Genuine OEM Yamaha 10W-30 4 Stroke Engine Oil in your jetski to ensure high performance and protection against wear and corrosion.
Can you use regular motor oil in a jet ski?
No, regular motor oil is not suitable for use in a jet ski because it does not meet the stringent standards required for high-RPM engines in a high-moisture environment. Using an NMMA FC-W rated oil is necessary to prevent internal rust and corrosion, ensuring the jet ski's longevity and reliability.
How often should a jet ski be serviced?
It is recommended to service a jet ski annually or every 50 hours, whichever comes first, and also to perform a winter service in colder climates. See our guide How To Tune Up A Jet Ski.
What tools do I need to change the oil in my jet ski?
To change the oil in your jet ski, you'll need 5 quarts of recommended oil, a new filter, a suction pump, rags, a container for the drained oil, and an oil filter wrench.